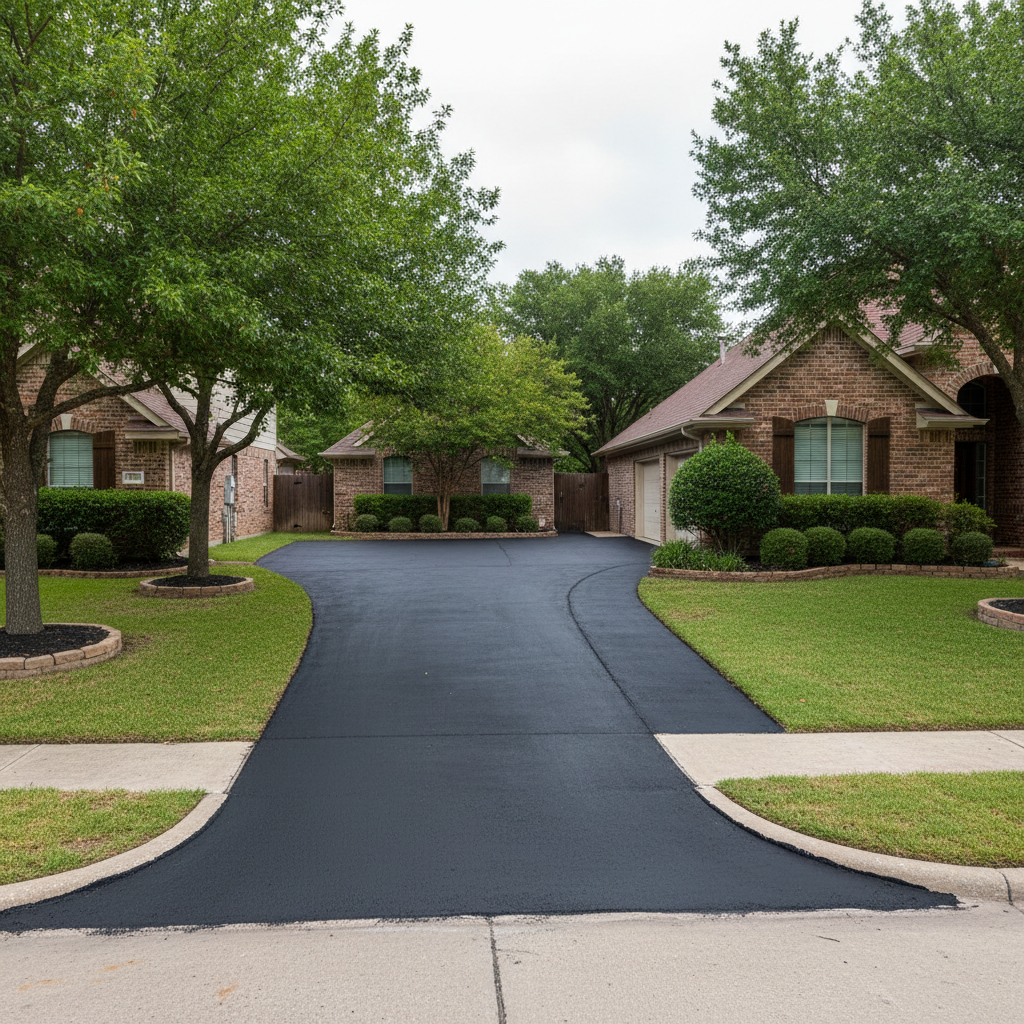
So, you're thinking about sealcoating your asphalt driveway here in Irving. Good call. It's honestly one of the smartest things you can do to protect your investment and keep your property looking great. Now, I know it can feel like a pretty big project if you've never dealt with it before. But don't worry; I'm going to walk you through everything you need to know, from start to finish, so you're totally ready when All Star Paving — or any other good contractor — comes to do the job.
When Should You Plan for Sealcoating?
Timing is super important for sealcoating. You can't just do it whenever. We really need consistent warm weather for the sealcoat to cure right. That usually means from late spring through early fall here in North Texas. Think April, May, June, then September, October. July and August can work, sure, but those scorching 100-degree days we get in Irving sometimes make the material dry too fast, which isn't ideal, you know? We're looking for daytime temperatures consistently above 50°F, and absolutely no rain in the forecast for at least 24-48 hours after we apply it. Usually, I tell folks to pick a day when they can keep cars off the driveway for at least 24 hours, maybe even longer if it's a bit cooler or more humid.
How to Get Your Driveway Ready
Preparation is key, and frankly, a lot of this falls on you, the homeowner, even before we show up. It makes a huge difference in how the final job looks and how long your sealcoat actually lasts. Here's your checklist:
- Clear the Area: Get any cars, boats, trailers, basketball hoops, potted plants, or anything else off the driveway and the spots right around it. We need a completely clear surface to work.
- Trim Vegetation: If you've got grass, weeds, or bushes growing along the driveway's edges, trim them back. We don't want sealcoat on your landscaping, and we need clear access to those edges.
- Clean Up Debris: Sweep off any loose dirt, leaves, or big chunks of debris. We'll do a really thorough cleaning with blowers and wire brushes, but getting the big stuff out of the way helps us out a lot.
- Address Oil Stains: If you've got oil or grease spots, try to clean them as best you can with a degreaser. Sealcoat just won't stick well to oil. We'll treat them with a primer, but your pre-cleaning makes a huge difference.
- Mark Sprinkler Heads: Got sprinkler heads near or in the driveway? Mark them with a flag or something easy to see so we don't accidentally hit them.
- Turn Off Sprinklers: Make sure your sprinkler system is off for at least 24 hours before we get there and for at least 48 hours after we apply the sealcoat. Water will mess with the curing process, and nobody wants that.
What to Expect During the Sealcoating Process
Once you've done your part, here's what we'll do. First, we'll give the driveway a really, really good cleaning. We're talking commercial-grade blowers, wire brooms, and sometimes even power washing to get every last bit of dirt, dust, and loose aggregate off. Then, we'll tackle any oil spots with a special primer. After that, any cracks will get filled. For larger cracks, we use a hot-applied crack filler — it's a flexible, rubberized material that expands and contracts with the pavement, which is pretty neat. This is a super important step; sealcoat won't bridge cracks, it just covers them up.
Once all the prep is done, we'll start putting down the sealcoat. For residential driveways, we typically apply two coats. The first coat goes down, and we let it dry for a few hours. Then, we apply the second coat. This two-coat system gives you better protection and a more even finish. We'll usually block off your driveway with cones or tape to make sure nobody drives on it too soon. You'll need to stay off it for at least 24 hours, sometimes 48, depending on the weather. Walking on it is usually fine after a few hours, but keep pets off it too, please.
Questions to Ask Before You Sign a Contract
Before you commit to anyone, even us at All Star Paving, you really should ask some key questions. It protects you and helps ensure you're getting a quality job.
- What type of sealcoat material do you use? There are different grades out there. You want to be sure they're using a commercial-grade, asphalt-emulsion sealer, not some cheap, watered-down stuff.
- How many coats do you apply? For residential work, two coats are standard and what we recommend. One coat just doesn't offer the same protection or last as long.
- What's your process for crack filling and oil spot treatment? Make sure they're not just spraying over cracks. For anything significant, hot-applied crack filler is what you want.
- What's the typical drying time, and how long do I need to stay off the driveway? Get a clear answer so you can plan your schedule.
- Do you carry insurance? This is non-negotiable, period. They should have liability insurance in case of accidents. Ask for proof.
- Do you offer a warranty? A good contractor will stand behind their work, even if it's just for a year against material defects or early failure.
- Can you provide references? Or show me some examples of work you've done in areas like Las Colinas or Valley Ranch? Seeing their work firsthand is always a smart move.
- What's included in the price? Make sure the quote covers all the prep, crack filling, oil spot treatment, and two coats of sealer, with no hidden fees later.
Asking these questions will help you feel confident in your choice and ensure your asphalt driveway gets the care it truly deserves. A good sealcoating job can add years to your driveway's life and really boost your home's curb appeal. It's a solid investment, especially with our Texas sun beating down on everything, isn't it?